I came back from my vacation and decided to give my Raspberry PI a spin and see what I can do with it for my personal entertainment.
Many would start thinking of XBMC or something to turn it to something that’s network intensive and doesn’t really utilize other things.
I’m personally against that. You have a GPIO and a camera socket to play with. If I wanted to have an XBMC, I’d run it in an old Pentium 4 PC or an Atom-based machine.
My final project would hopefully be a controllable live streaming camera (And who knows, might end up flying that damn thing too!).
So, in this post, I’ll only document my steps to have an initial setup.
Given this link, I had the choice to either install RISCOS, Raspbian, or Arch. I decided to go with Arch. Why? Simply because it’s minimum, it’s linux, and for me to poop onlearn while I’m in the process.
And because I’m using Windows, I had to download and use this tool to burn the Arch image properly in an SD card.
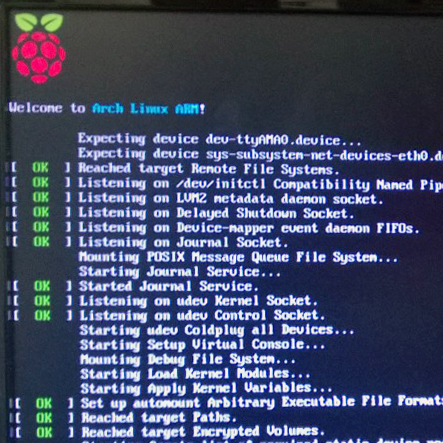
After that, just kick it in and start using it. The root username and password are root. So you better change that. So here’s that I did:
- Changed the password executing
passwd
- Updated the OS and included packages by executing
“pacman -Syyu”
- Fixed my local timezone
ln -s /usr/share/zoneinfo/Asia/Kuwait /etc/localtime
- Fixed my hostname
raspi > /etc/hostname
Note that the hostname is raspi. Change that to whatever you want.
- Rebooted the system. Only because I wanted to see the new hostname. You can skip this step.
- Added a new user
useradd -m -g users -s /bin/bash -G audio,games,lp,optical,power,scanner,storage,video pi
The username here is “pi”. You can change it to whatever you want, I just liked the pi name for it
- Set the new user’s password
passwd pi
- Install nano and sudo
pacman -S sudo nano
Why sudo? Because you’d need to do stuff with root privileges. Why not su? Because it’s better to do root stuff command by command, not through the whole session! Why nano? Because we’re going to text-edit some files. I prefer nano, you can use whatever you like.
- OK, now let’s edit the sudoers and make pi a sudoer
nano /etc/sudoers
- Scroll down to almost the end of the page, until you find this:
## Uncomment to allow members of group sudo to execute any command
# %sudo ALL=(ALL) ALLUncomment it and make it look like this
## Uncomment to allow members of group sudo to execute any command
%sudo ALL=(ALL) NOPASSWD: ALL - Now, let’s create a new group called “sudo” and add pi to it
groupadd sudo
usermode -a -G sudo pi - And you’re set! Log in with pi and you should be able to sudo. If not, just reboot and should be working fine.
So, my future plan for this toy is this:
To have a streamable video footage where I can control the camera’s axis. I’ll most likely end up attaching it to a roaming object and have it stream stuff in a different perspectives. I’m even wondering if I should add voice to it.
So yeah, next post will be about figuring out how the camera works on Raspberry Pi
Oh, so far, I followed this tutorial.

Thanks for the link to my Arch tutorial. I will get around to part three, sometime!
Cheers,
Norm.
No, thank you for the watered-down tutorial! 😀
sudo make me سندوتش
You can use XBMC by installing the “NOOBS” software that is found in the official website. Extract the files to your SD card then install openelec or raspbmc.
I find it sort of insulting to use RaspberryPI as an XBMC, to be honest.
You have GPIO ports for a reason; use them! :E
If I wanted an XBMC, I would’ve used whatever other tiny\old\useless machine for that, not a RaspberryPI